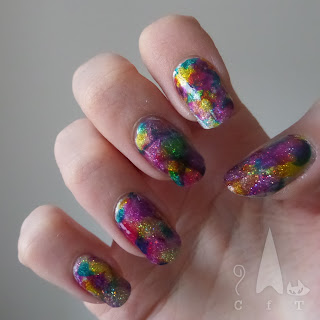
As promised (though a little later than intended - work is manic) here is my picture tutorial for advanced/reverse stamping using a stamping mat. My mat of choice is the Uber Mat from UberChic nails. I'm already looking back at the last tutorial and thinking the end result wasn't as good as usual, which isn't great for a tutorial! Perhaps I will add to the many video tutorials and link back to those in my blog instead. So, let's begin!
You will need:
- A stamping mat
- Stamping plate
- Stamper and scraper
- Stamping polish/highly pigmented polish
- More polish for filling in your design
- Clear nail polish
- Dotting tool or small brush
- Nail polish remover
- Cotton pads
- Top coat
- Cotton buds of clean up brush
Step One:
Paint some clear polish onto the stamping mat where you would like to create your decals/images.
This is necessary to give the image something to adhere to, If you don't to this step it is likely that the image just won't come off the stamper onto the mat.
Tip: Use a normal clear polish and not a quick dry top coat. Quick dry top coats will dry too fast and make the image lift when you're trying to work on it, or go crispy.
Step Two:
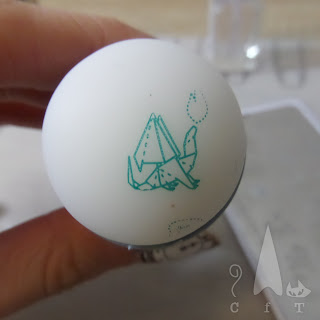
Cover the image you'd like to use in your stamping polish, and scrape off the excess as shown.
Promptly after this, press the stamper down onto the image and lift, so the image is picked up onto the stamper.
Step Three:
Roll the stamper over the clear polish on your stamping mat (once the clear polish is dry - this shouldn't take long).
Tip: It may be useful to put a piece of paper under your mat, or place the mat over a while surface so you can see the fine details of the image a little better.
Step Four:
Leave the image a few minutes to dry, and then start colouring in with your dotting tool or brush, directly onto the mat.
Use a a dabbing/dotting motion rather than dragging as using normal brush strokes can drag away part of the image
The side you cane see while you do this is the side that will be placed onto your nail, so don't worry if you cover some of the lines, just try not to go outside of them!
Step Five:
Fill in your image and allow 5-10 minutes to dry. You can test it by touching it very lightly.
Once dry apply another clear layer over the top, and allow another 10-15 minutes to dry. I find this is a good time to apply your base colour.
Step Six:
Once the clear coat is dry bend the mat a little, close to one of the images, so that the edge starts to lift.
Use some tweezers (or a long fingernail!) to take hold of the edge, and gently pull the image away from the mat.
Step Seven:
Hold the decal gently with one hand/your tweezers, and use nail scissors to trim the excess from around the image.
The less excess the better, as this will make clean up and application easier!
Step Eight:
Place the image gently on your nail, with the side that was facing up on your mat, facing down on your nail. It will look kind of matte at first, but not once it has a top coat!
Life the edges to trim off any further excess with nail scissors.
Step Nine:
Press the image down, starting in the middle and pushing outwards towards the edges.
Use a cotton bud, or clean up brush dipped in nail polish remover/acetone to clean around the edges and seal the edges of the decal down if necessary.
Step 10:
Apply a top coat over the entire nail and allow to dry (fine to use a quick dry one this time!).
I love this step as it really melts the image into the nail and makes it look like it was painted on directly.
Voila! I tend to use my Uber Mat as by preferred tool for advanced/reverse stamping as you can do so many images at once. I often create a few more decals than I need so I can pick the best ones to go on my actual nails. Thanks for reading!


