Wednesday, 17 May 2023

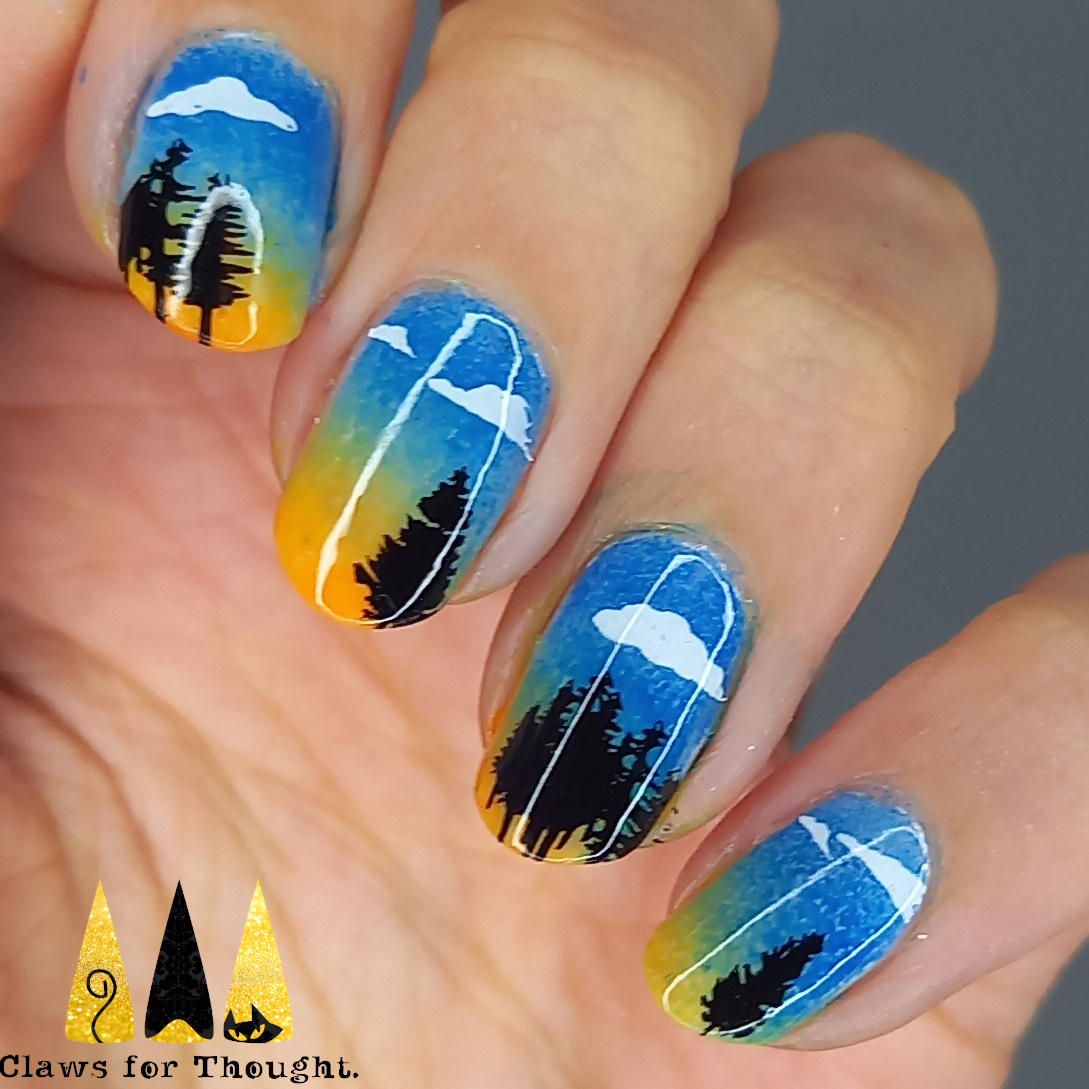
A Motorway Sunset

Hey space turtles! Today's nail art was inspired by the motorway... sort of. We were on route to one of our recent long weekends by the seaside and the sky looked so lovely over the fields next to us, with the trees silhouetted against yellow and blue. I made a note on my phone to try and recreate it on my nails! I was apprehensive about whether it would work or come out too bright but thought I'd give it a go.

I started with a base coat and then one layer of sheer white as a base. Next I used a gradient sponge and two shades of blue plus orange and yellow nail polish to create a gradient. I sponged on a couple of layers of polish before adding cloud and tree images from Mo You London's Noel 16 stamping plate. To finish the look I added a glossy top coat. I considered making it matte which I do think would look nice, but I love it so much the way it is! I am still wearing it so it's not too late to try I suppose! 

Colours used: Snow (soft focus) - Polished for Days, Beach Hit - Models Own, Yellow - Barry M, Bluebell - Barry M, Cyan - Barry M, Essential White - Uber Chic Beauty, Black Stamping Polish - Dance Legend

Sunday, 14 May 2023

Seal Print!

Hey space turtles! Today's nail art is an unconventional animal print look. I absolutely adore seals and after another trip to the Cornish Seal Sanctuary was inspired by their lovely little flanks to try some seal print nails. I really wasn't sure how they would come out but am very pleased!

I started with a base of pale grey and then created a gradient with medium grey and pale grey over the top. I then chose the most seal like image from Uber Chic's Warm Blooded animal print stamping plate and applied it over the top in dark grey. Before pressing the stamper onto my nails I used a dotting tool to remove some of the spots so they were a bit less dense. I finished the look with a glossy top coat. I was tempted to try a matte top coat over the top but asked for advice and people thought shiny was better as seals are shiny when they're wet.

I really love this - I wasn't sure how well it would work but I don't think it could have gone that much better. Some people even guessed what animal they were right away! (I thought it might be hard to guess as seals don't have the most distinctive pattern). I would love to do this celebration of seals look again!

Colours used: White Horse Street - Nails Inc, Grey - Barry M, Dragster - Barry M

Thursday, 11 May 2023

Coronation Swans

Hey space turtles! I'm a bit behind with this post as it's from the weekend but better late than never! I wasn't really planning to do anything for the Kings Coronation at the weekend but the lake where I swim did fancy dress for it and I just couldn't resist! I wore a swan hat and decided to create some nail art to match. 

I started with pale blue on my middle two nails and thumbnails and dark blue on the others. I created decals for the swan nails using Mo You London's Animal 01 stamping plate. While the decals dried I added some gold detailing from their Games 02 stamping plate on the dark blue nails. I added the decals to my nails and trimmed them before adding a layer of blue across the bottom. I was pleased with how well that came out since I was using the brush straight from the bottle and my left hand! I added a top coat carefully to avoid smudging the nail art. I think this would look good matte too but stuck with shiny as it felt right.

I really love how these came out. The colours are very me and I like how bold they look against the contrast of the swans. It does feel a little weird to have royal themed nails when I'm not particularly into the royal family but I think they're relatively subtle. I'd definitely enjoy doing some similar swan nails in the future.

Colours used: Pale Blue - Brand I no longer support, Indigo - Barry M, Black Stamping Polish - Dance Legend, Beach Hut - Models Own, Essential White - Uber Chic, Bright Lights - Barry M

Thursday, 4 May 2023

Gold Leaf Strikes Again!

Hey space turtles! Today I'm sharing some nail art inspired by a tutorial I saw by Claudia Hernandez on Instagram. It's been on my to do list for a while. I only realised after looking at the tutorial again more recently that I'd actually used the exact same nail polish (I thought I'd just used something similar). I started with a layer of sheer white then sheer green. I then used my fingers and some tweezers to pull apart some gold leaf which I carefully applied to my nails using my fingers. After a while I found that was actually easier then using tweezers. I added another layer of sheer green followed by another layer of gold leaf and then more sheer green. To finish off I added a few more pieces of gold leaf and then a clear top coat. I love how these came out! They don't have the visible nail line I was anticipating but I like them just as much. They remind me a bit of precious stones.

Colours used: Verdigris Jelly - Cirque Colors, Gold Leaf - Available in craft stores, Soft Focus (White) - Polished for Days

Tuesday, 2 May 2023

Brand New Butterflies

Hey space turtles! Another Glam Nails Challenge look to share today - as you may have guessed the theme for this one is butterflies. I have a layered images butterfly stamping plate (Paradise 07) from Mo You London I've been meaning to try for a while so was pleased to finally use it for this look.

I started with a pale lilac base and then some silver glitter, followed by more silver glitter (colours listed below). I then added a glossy top coat which also has a hint of purple to it so between that and the base colour it gave the silver a bit of a lilac look. Next I added the butterfly images from the stamping plate, layering them up from dark to light before adding another layer of top coat. The pink one didn't really go to plan and I tried a few different colours but otherwise I really like this look. My favourites are the green butterfly and the one on my thumb nail.

Colours used: Lavender Ice - Painted Polish, Cosmic Girl - Danglefoot Polish, Diamond Glitter - Barry M, Wardour Street - Nails Inc, Plum - Barry M, Laguna - Barry M, Cyan - Barry M, Acai Smoothie - Barry M, Pink Lemonade - Barry M, Key Lime - Barry M, Watermelon - Barry M, Black Stamping Polish - Dance Legend, Essential White - Uber Chic

Tuesday, 25 April 2023

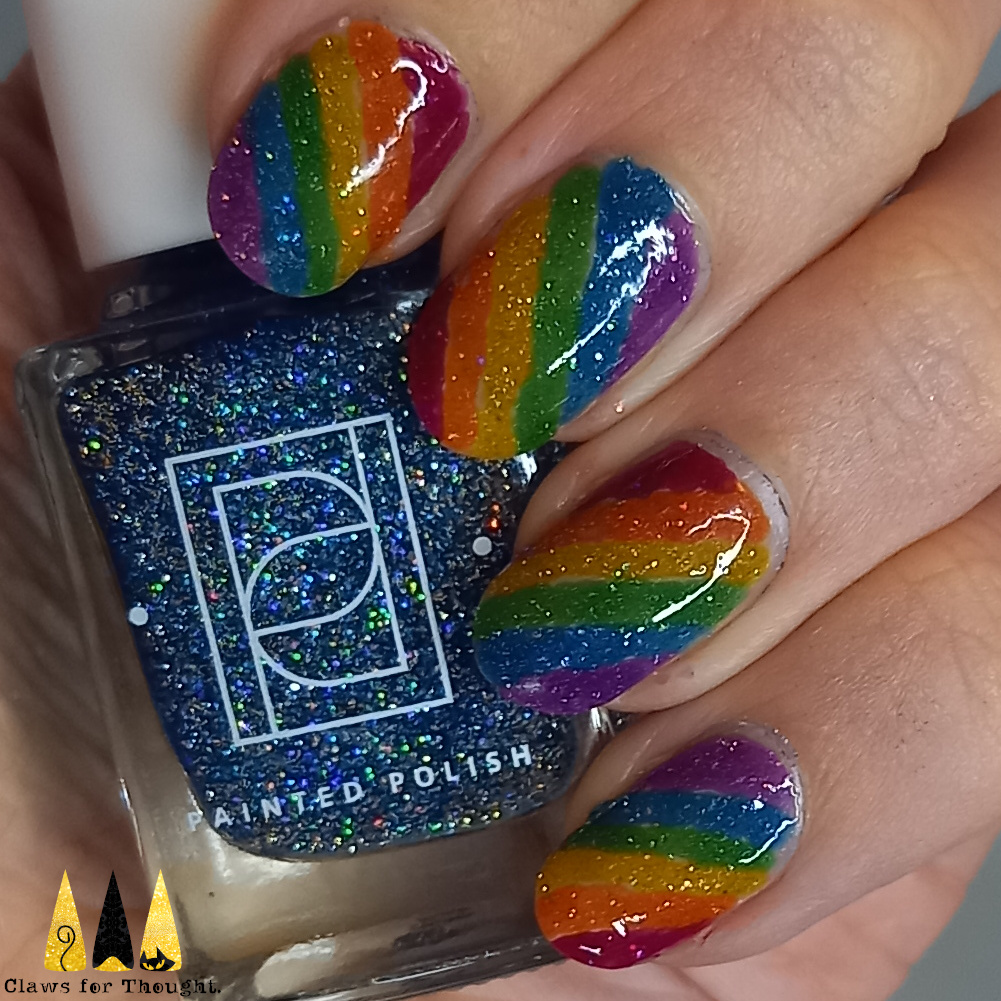
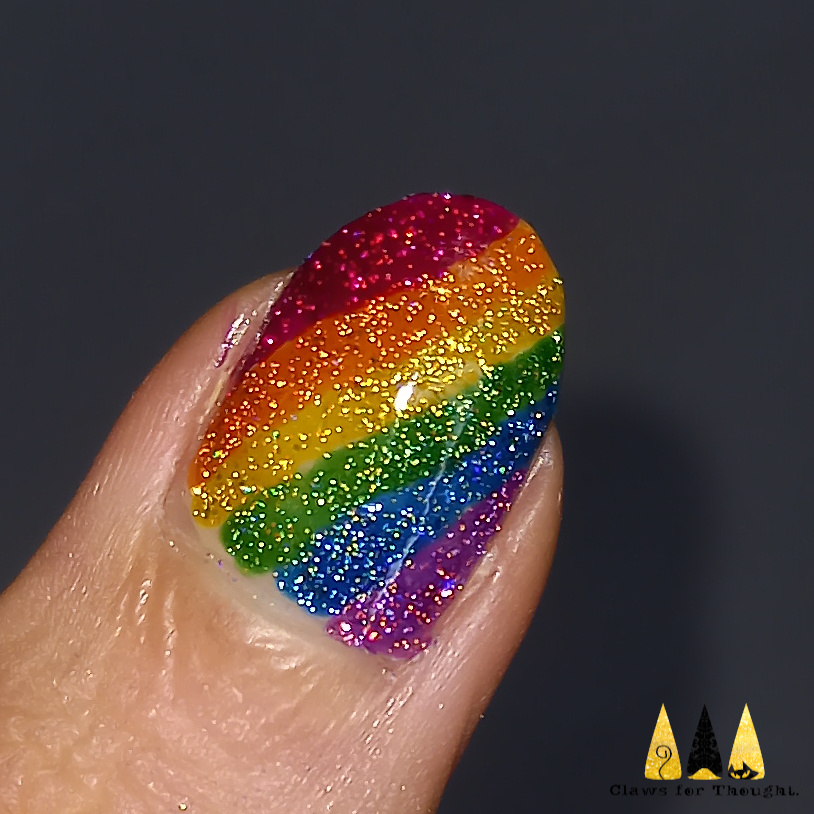
A Reflective Rainbow

Hey space turtles! Something fun and bright to share today - rainbow nails. This was for a Glam Nails Challenge prompt on Instagram but is also something I'd been meaning to do for a while with my new rainbow reflective glitters (colours listed below pictures). 

I started with a nude base coat for opacity as I knew there's only be one layer of sparkly polish. I then used a small nail art brush to add the striped on my nails one colour at a time. This was easier and came out neater than I expected as the consistency of these polishes is so perfect for it. Reflective glitters tend to be quite opaque and thick so it worked really well. I loved looking at these gorgeous glitters sparkling in the sun too! All of the colours are from the Painted Polish 'At Sea: Rainbow Reef' collection except the red as that wasn't in stock where I buy my indie polishes. The red is from the same brand and finish however so is close enough I think, just slightly darker. Love how these came out :)

Colours used: Soft Focus (nude) - Polished for Days, You Razz My Berries, Shell We Dance, Catch Sun Rays, Can't Kelp Myself, Laguna Matata, Feelin' Knotty - All Painted Polish

Monday, 24 April 2023

Daffodil Days

Hey space turtles! Back to blog catch up as we've been away again this weekend. This nail art was done for April's Glam Nails Challenge on Instagram - this time the theme is daffodils. I really love this daffodil image from Mo You London's Flower Power 26 stamping plate so it was the perfect candidate for this look. 

I started with a base of cream on my two middle nails and electric blue on the others (colours listed below the pictures). For the daffodil nails I created decals using my Uber Mat. I chose some reflective glitters for the daffodils and am really pleased with how they came out, even if you can't really see the sparkle that much in the pictures. I finished the look with a glossy top coat.

Colours used: Blueprint - ILNP, Cream Soda - Barry M, Black Stamping Polish - Dance Legend, Shell We Dance - Painted Polish, Catch Sun Rays - Painted Polish