
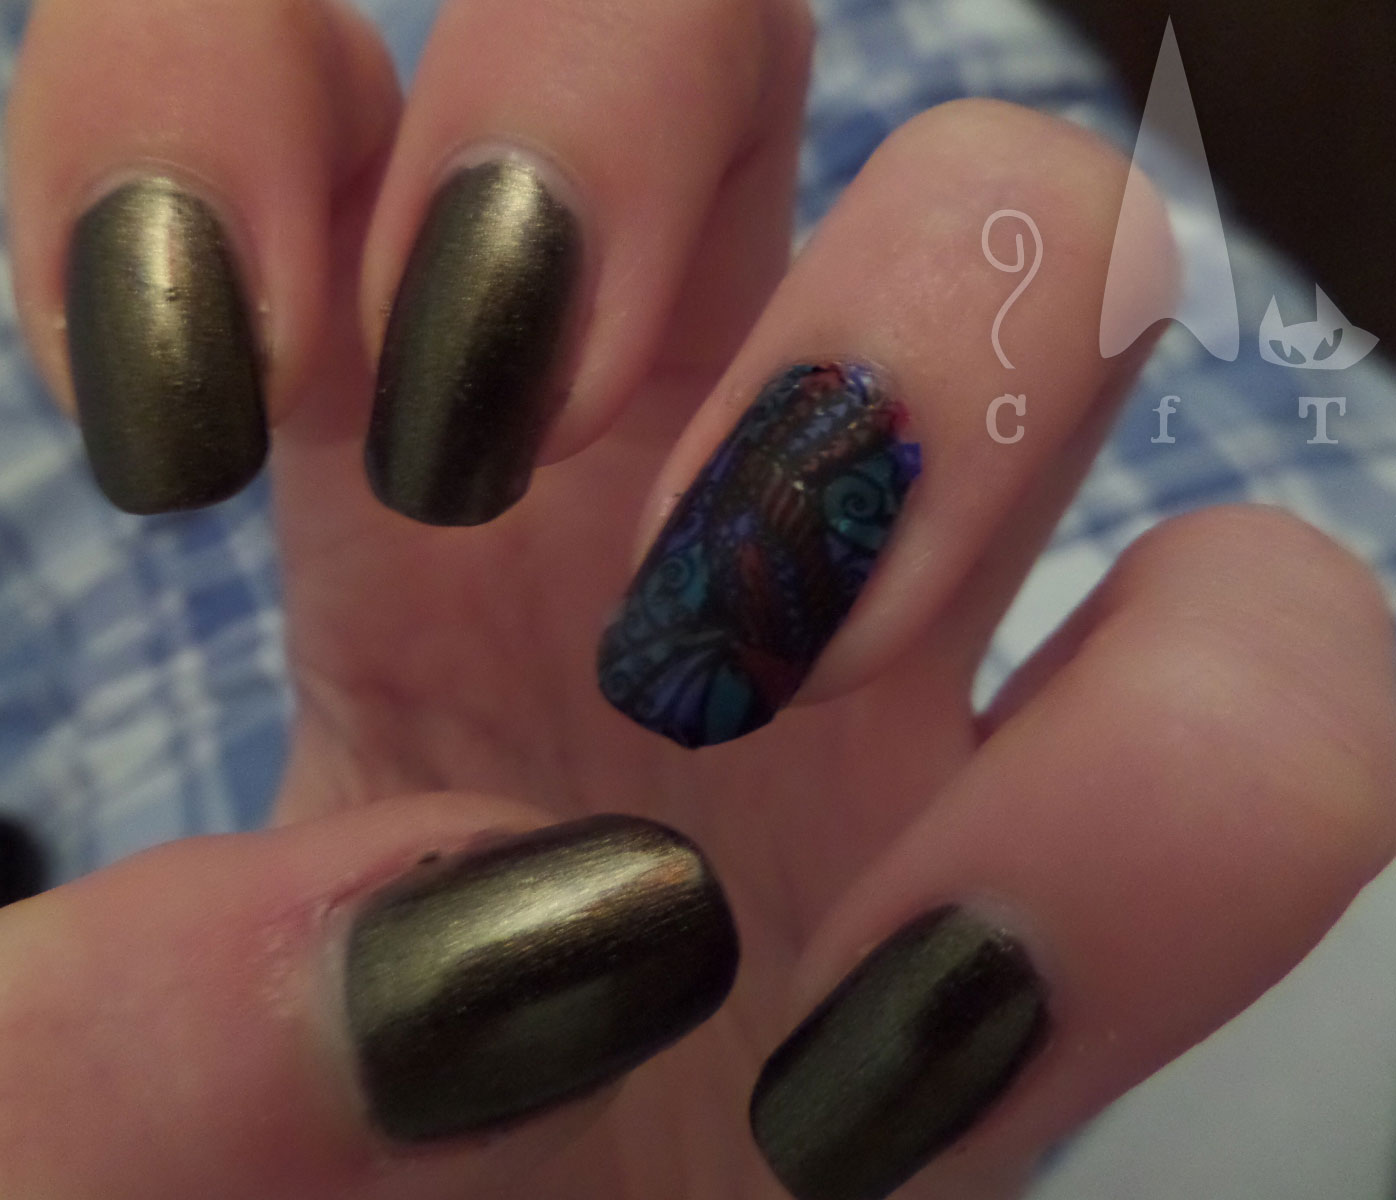
For those of you who are not familiar with advanced stamping, it is an ingenious technique which looks so tricky but is actually satisfyingly simple! The design is picked up with a stamper and the gaps are filled in with a tiny brush or dotting tool (as the picture will be flipped before being applied to the nail this allows for some painting over the lines!). I used dotting tools as I felt they gave me more precision. Once all is filled in and dry a generous layer of top coat is applied and left to dry, there is quite a lot of drying time required!

|
|
Once dry, the design can be peeled of the stamper. This is the bit I thought would be really difficult but it was surprisingly sturdy, and as my stamper is squishy I could just press the sides down so it peeled off easily. Next I carefully applied the design to my nail. this is easier with a small design like the turtles I posted a few weeks back. With a large image I found there was some bubbling which was hard to get rid of, a little like sticky back plastic. The beauty of a decal made of nail varnish is that clean up is a dream!
I've really enjoyed advanced stamping, and due to the arrival of some new stamping plates for my birthday there will be a lot more to come!
Colours used: Anne Teak - Freckles Polish, Black Knight - Mo You, Baker Street - Nails Inc, Red Hot Rio - OPI, Block Your Green - Rimmel
No comments:
Post a Comment