Tuesday 30 July 2019

Taking the weather with you nail art!

Everywhere you goOo, always take the weather with you! Or the weather forecast anyway! I was super excited to get my hands on the Uber Chic Forecasting Glam stamping plate recently, and this is the first thing I did with it, a full set of accurate (at the time) weather forecast nails!

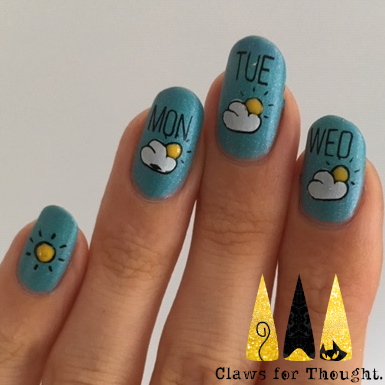
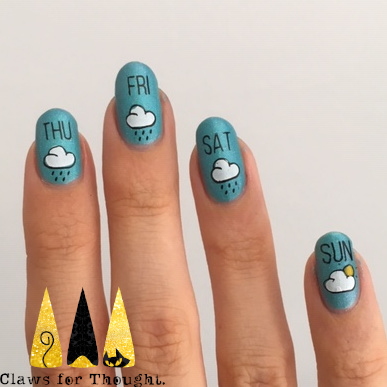
I started with a base of Cirque Colors' Luna, which is gorgeously summery but also changes colour so seemed appropriate for weather nails. For the nail art for once I actually didn't use the advanced stamping technique! The stamping plate has an image for the cloud colour as well as the outline of the clouds and the days of the week, so I was able just to stamp these directly onto my nails bit by bit. For the sunshine I coloured in with yellow nail polish and a dotting tool once the images were already on my nails. The pictures below show the full set with some of the colour variation, they were mostly blue as the weather has been warm!

Scroll all the way to the bottom for the thumb nails and something extra!
Colours used: Luna - Cirque Colors, Midnight Mischief - Painted Polish, White Stamping Polish - Emily de Molly, Yellow - Barry M

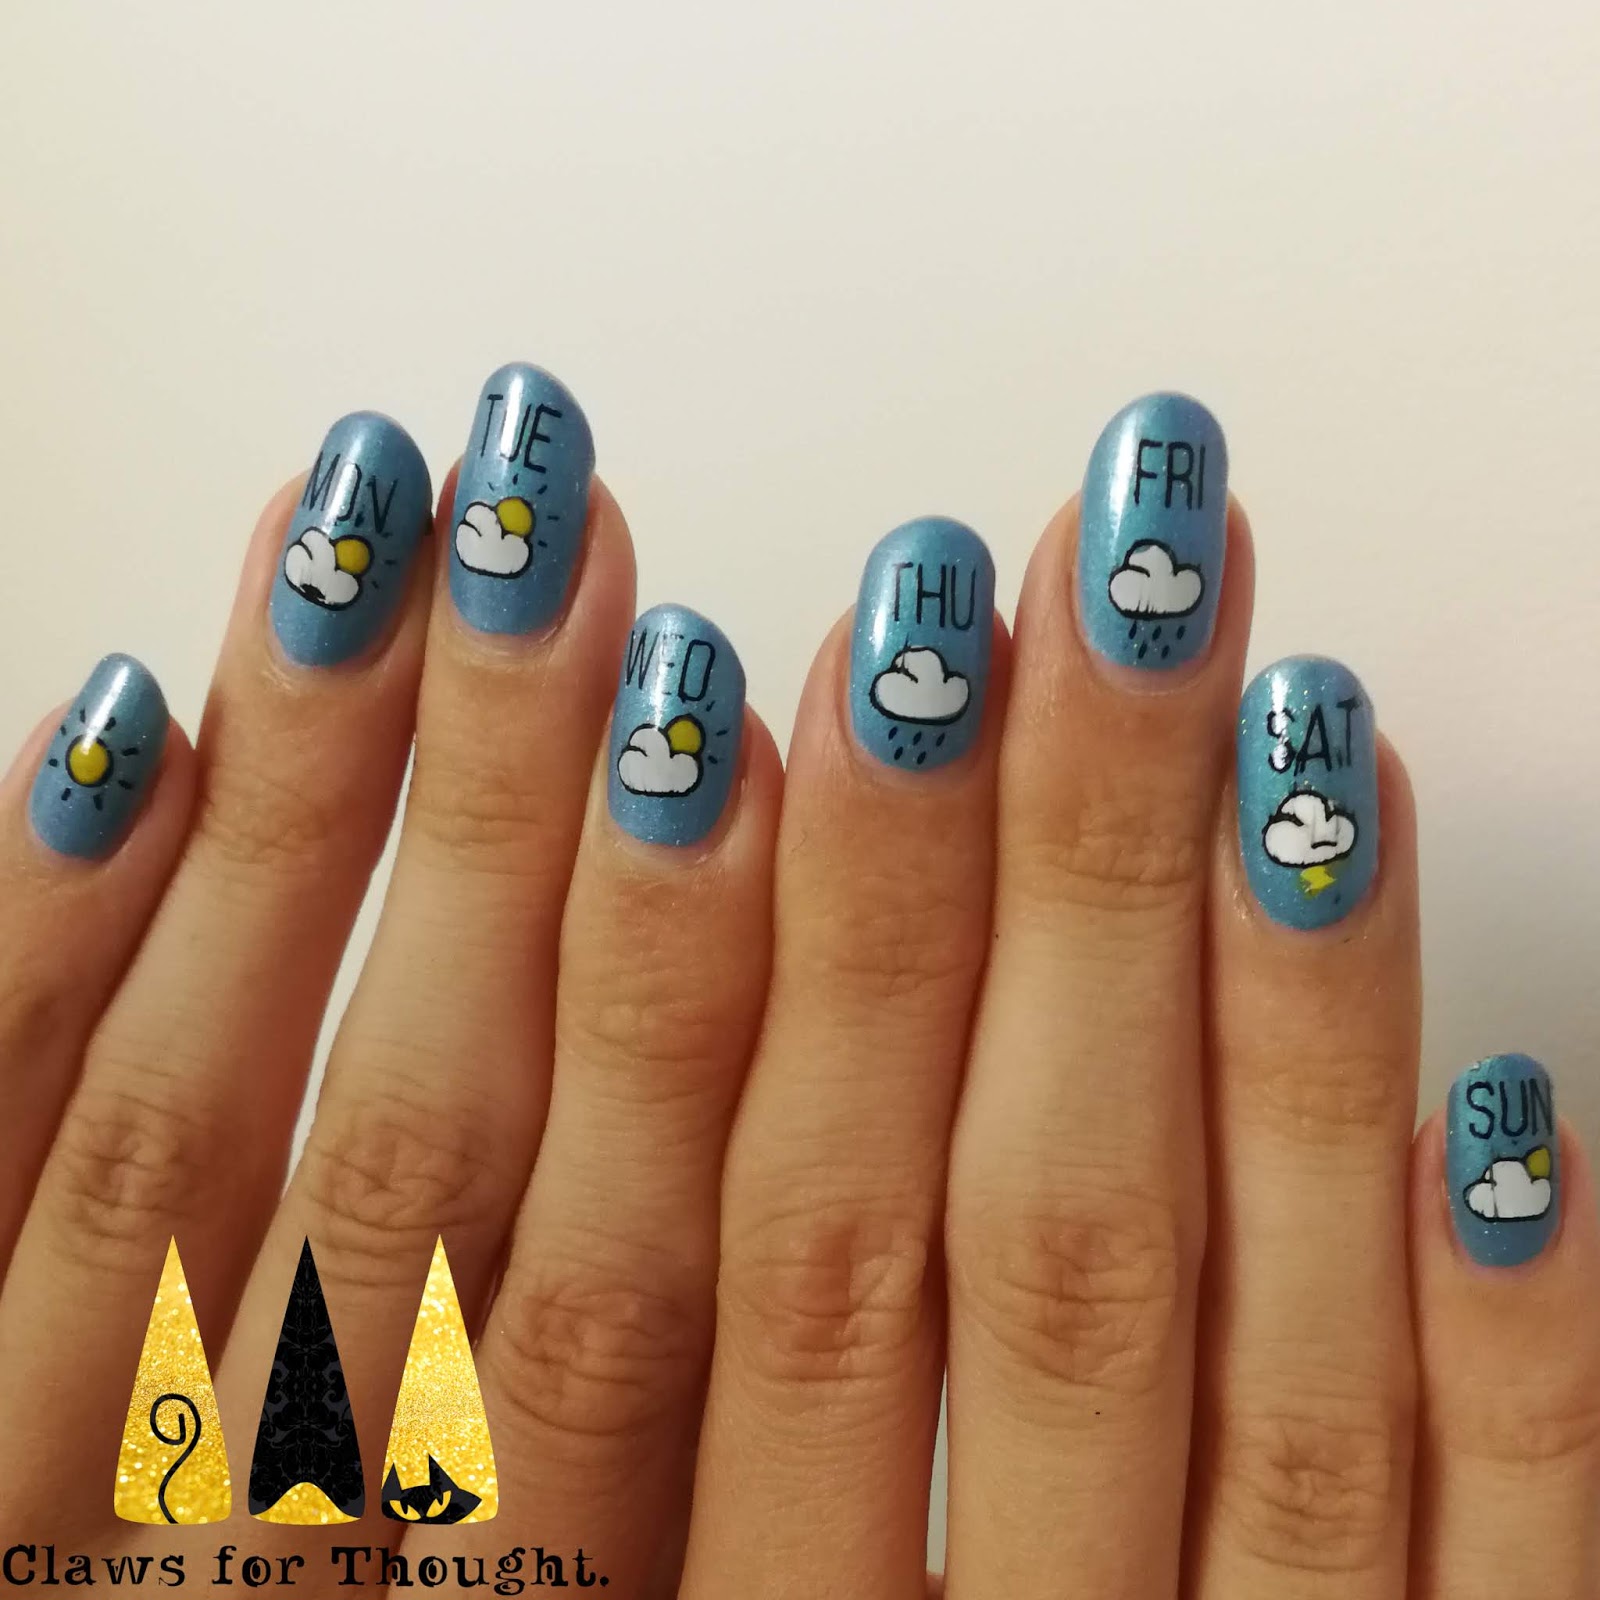
Below are some additional images from the stamping plate which I used on the thumb nails. I was really pleased with how they turned out and think the base colour was perfect! As I neared the end of the week the forecast changed a little, to predict storms for the Saturday. This was not ideal as I was off to see some outdoor theatre, however I was keen to try out the storms symbol on my nails! I did therefore re-do the Saturday nail towards the end of the week.

As you've probably gathered I am really pleased with how these turned out! Some of my most complimented nail art so far - they were a great novelty!

Friday 19 July 2019

Cirque Colors Vice 2019 - Floral Nail Art

Hey everyone! Got some special nail art to share today as it's what I wore to my bestie's hen do! I wanted something bright and summery to wear and had just got my hands on Cirque Color's Vice 2019 collection which was perfect! I've been tempted by the Vice collections for the last few years but this year I finally gave in. It's a really good selection of colours and they are insanely bright! Great formula too. I can't wait to try out some more of them as a base colour, particularly Game Over which is the bright red.

To start with I painted all my nails with Rehab, which is one of the less neon polishes in the collection but still gloriously bright! I could totally see myself sat on a beach with this shade on my nails. I liked the idea of having mostly bright blue (it's kind of blurple but you can't see that in the pics) with some delicate flowers in the corners. What I ended up with wasn't as dainty as I had planned (I was going to cut the decals I made down originally) but I loved it anyway!

For this design I made decals on my Uber Mat, you know the drill! You can see how here. For all the flower images I used the Mo You London Floral 03 plate. The only thing I would possibly change is having only the little finger flower in coral, I think I should have included some coral on another nail too so it all fits together better. Overall though I loved these, and then hen do was fabulous!
Colours used: Rehab - Cirque Colors, Game Over - Cirque Colors, High Roller - Cirque Colors, Miami Dade - Cirque Colors, Vitamin D - Cirque Colors, Electric Daisy - Cirque Colors, Midnight Mischief - Painted Polish by Lexi

Tuesday 16 July 2019

Just Peachy Nail Art with Nails Inc

Hi nail people! I hope you are enjoying some sunshine! Got some summery nails to show you today, using the Nails Inc Kiss My Peach duo which I bought from someone in a Facebook group, after having had my eye on it for a while. I was very taken with it arriving in a velvety peach fuzz box!! Though I must admit it makes it slightly harder to open and close.

I wanted to do some nail art that was mostly using the two colours in the box, Peach Tease and Hot Fuzz. I started with a base of Peach Tease, and on the ring, thumb and little finger nails I created a gradient adding Hot Fuzz with a sponge. For the middle two fingernails I used a large dotting tool to create the peaches, and then a nail art brush to add a couple of green leaves to each. I then drew some lines in the middle of each peach to try and give them a bit of shape. Worked better on some than others, freehand is not my strong point, but I was pretty happy with it.

One thing I must mention about these polishes is that they are scented. When I initially tried them on my Uber Mat I couldn't really smell them, but once I wore this nail art it really came though! I was really impressed with how long it lasted and it reminded my of holidays when I was a kid. The top coat muffled it a bit but as that wore away a bit at the top the smell came back again a few days later! Love it!
Colours used: Hot Fuzz - Nails Inc, Peach Tease - Nails Inc, British Racing Green - Nails Inc

Wednesday 10 July 2019

Underwater Nail Art - Pond Mani Variation

Hey nail people! Today I have some rather aquatic nail art to show you. Again from a while back, this one was something I was planning to try for quite some time. I was inspired by a picture I saw on Clear Jelly Stampers Instagram page to try more pond style nail art (where you layer up images under sheer polish) with a sea creature theme. It didn't quite turn out how I wanted but I still liked it. I'll explain how I did it and what I'd have changed below.

I started with a white base, followed by a couple of layers of sheer blue (colours listed below the pictures). To follow I used images from my Mo You London Doodles 07 plate, stamped in white on all nails. After another layer of sheer blue I applied some decals which I'd made using the same stamping plate and my Uber Mat. I finished off with a shimmery top coat which you can't see very well in these pictures, but I liked the subtle sparkly effect.

I think I should have layered these up a bit more, with some spots, followed by sheer polish, then the white patterns, then more sheer polish, before the final see creatures on top. It would have given it more depth and made the blue a bit brighter. Still enjoyed it though - I love things with sea creatures on!
Colours used: Floral Street - Nails Inc, Flipper - Urban Outfitters, Key Lime - Barry M, Spring Green - Barry M, Grey - Barry M, Papaya - Barry M, Harp On It -  Color Club, Notting Hill Carnival - Nails Inc, Wardour Street - Nails Inc

Sunday 7 July 2019

Layered Stamping with Barry M Lollygloss

Hi everyone! Hope you're having a good weekend - I'm feeling tired but happy today after throwing a hen party for my bestie yesterday! We had SO much fun and I could see she was really enjoying herself! Today's nail art is as usual from a few weeks back, now the hen do stuff is sorted hopefully I will catch up! I wanted to try layering some images with a sheer polish so this one was a bit of an experiment really.

I started with a silver base, and then a couple of layers of Barry M's Cherry Drop. Then brought back the silver polish for the first later of stamping, using the Minimal 10 plate from Mo You London. This was followed by another layer of Cherry Drop. To layer up the images I used a dotting tool to remove the lines I didn't want to be re-covered from the stamper before applying it to my nails. I repeated this again for another layer,

I was expecting this to come out a bit better to be honest. You can kind of see the three different depths of the pattern but it's not that obvious, and I think they're a bit scruffy. They did smell good though as the Lollygloss polishes are scented!
Colours used: Cherry Drop - Barry M, Rain On Me - Barry M