Wednesday 30 September 2015

Mint & Bronze Gleam

Just a little one today, more of an advanced throwback Thursday as this one is from a while back.  Not the greatest picture background wise but I do like that you can see the shinyness!

I went through a really big mint green phase about a year ago and I believe this is from around that period. The little aztec pattern was done with a Barry M nail art pen and the shinyness is acheived by using my gel plumping top coat from Nails Inc. I think the colours go well together and the bronze glitter is quite unique. It's Bit Faker by Butter London and after searching far and wide for a bronze glitter I fell totally in love with this one. It's still a firm favourite. It dries quite matte but as you can see a few layers of top coat give it some shine.


Colours Used: Mint Green - Barry M, Bit Faker - Butter London, Nail Art Pen in Black - Barry M, Gel Plumping Topcoat - Nails Inc

Sunday 27 September 2015

Stamping Sundays: Mo You Take Two!

So with Tropical Tuesdays behind me for this year, I think it's about time I have another regular theme, besides my monthly indie review. This one is going to be fortnightly to start with.

I've been waiting to post this one for a few weeks now, was very excited about the result! I revisited stamping a little while back, you can see how I got on here. After that last attempt and some research and practise, I decided to try a squishier stamper, and went for Mo You London's large non-sticky marshmallow stamper. I also purchased the white stamping polish, which is an absolute delight! I've included some pictures of the stamper below so you can observe the squishyness!


So this was my first attempt with the new white polish and the new stamper, and I think it is one of my favourite mani's so far! It all went on so smoothly! I buffed the stamper first as it was quite shiny, but it picks up the images so well, it must really squish into all the little gaps. The plate I used was from the doodles collection. I couldn't get pictures quite right without getting reflections so have included a link Doodles Plate Collection 07. They have sooo many stunning plates, but this could possibly be my favourite. I love a sea theme and the patterns are so pretty.

Colours Used: My Car Has Navy-Gation - OPI, White Knight - Mo You

So in conclusion there will be a lot more stamping to follow! I've done a little practise run for some advanced stamping which was so much fun, so hoping to get those onto my actual nails soon! Thanks for reading :)

Thursday 24 September 2015

Throwback Thursday: Elephant Spots

This weeks throwback is one I was really fond of. Looking at it now thought I think I could get the edges a bit neater! This was based on a design I saw on pinterest but as it was a good couple of years ago I can't remember in order to credit them. If anyone knows please let me know! This was right after I first got my matte top coat, and wanted to matify everything! I'm still a big fan of matte. It can really bring out a colour and I love the smooth texture.

I will have used nail tape for the triangles, and a small dotting tool for the detail, finishing off with the matte coat.I like the reverse colours on the ring finger, perhaps next time I will do reverse colours on the thumb too. So in conclusion, if I ever get through my backlog of nail art ideas, I will try this again!!

P.S. I've called it elephant spots because the colours remind me of elephants, I'm sorry if you were expecting to see elephants! That will be another project for the future!


Colours used: Little Bo Beep - Rimmel, Cyan Blue - Barry M, White - Barry M, Pro Matte Finish Topcoat - Rimmel

Wednesday 23 September 2015

HPB Presents: Owls In The Mist - Autumn/Fall Blog Link Up

Very excited to be taking part in my first ever blog link up with the Hobby Polish Bloggers Facebook group. This months theme is autumn/ fall, and I've decided to go for something not too challenging as it's my first time! I've really enjoyed looking through all the other posts so far, there are some fabulous designs, and a lot of different takes on the theme. My design was done using some owl stickers/decals bought for me by a friend. I think they're pretty adorable!


I started with my trusty Nail Kale basecoat fron Nails Inc, and then painted my nails with Topshop's Easy Peasy matte grey nail polish. Once dry I sponged on some of Barry M's Coconut with peices of srunched up cling film/saran wrap. Next up were the owls, I've included a picture of the stickers below, I believe they are available online. I had some trouble peeling these off at first. After about half an hour prizing three away from the backing to stick down, my boyfriend kindly provided a tooth pick which worked a treat!


Once I'd stuck down all the little owls I finished the look with my matte top coat from Rimmel. I tried a shiny top coat too but I think the matte suited the look better and really brought out the colours of the owls. Which one do you like best?!


I really enjoyed doing this link up and look forward to the next one. Please check out the other entries below, they are fab! :)

Sunday 20 September 2015

Holo, is it me you're looking for?! Monthly Indie Review

Holo, is it me you're looking for? I just couldn't resist! As I'm fairly new to the blogging world it is only relatively recently that I found out about indie nail polishes. So many wonderful brands to discover! In light of this, as I clearly need to catch up, I have decided to try put a new indie polish each month for the foreseeable future. I will try a couple of polishes from a new (to me!) brand each month and review them on my blog around the 20th.

This month, for my first ever indie polishes, I have decided to try Colors By Llarowe. I've heard this brand raved about on various forums, and it can be ordered in the UK via Rainbow Connection. With this site you can order lots of indie brands you wouldn't otherwise be able to get your hands on in the UK. Discovering it has not been good for my bank balance!

So, enough waffle, and onto the nail varnish. First up is my FIRST EVER holographic nail polish. Very late to jum,p on the band wagon with these! I have been aware of some silver holographic polishes via big brands but since disovering indie polish have learnt that there are zillions of shades! I've gone for a blue called In the Navy, as if I don't have enough blue glitter already! Below is the polish in action.

I found this polish to be particularly thick, which I imagine may be the case with all holo's? The advantage of this is that I got to experience the joy of painting holographic glitter straight onto my nails. A definite one coater. Out of the sunlight this looks kind of like a denim effect polish. But as soon as you're in the sun or bright lights it is dazzling!

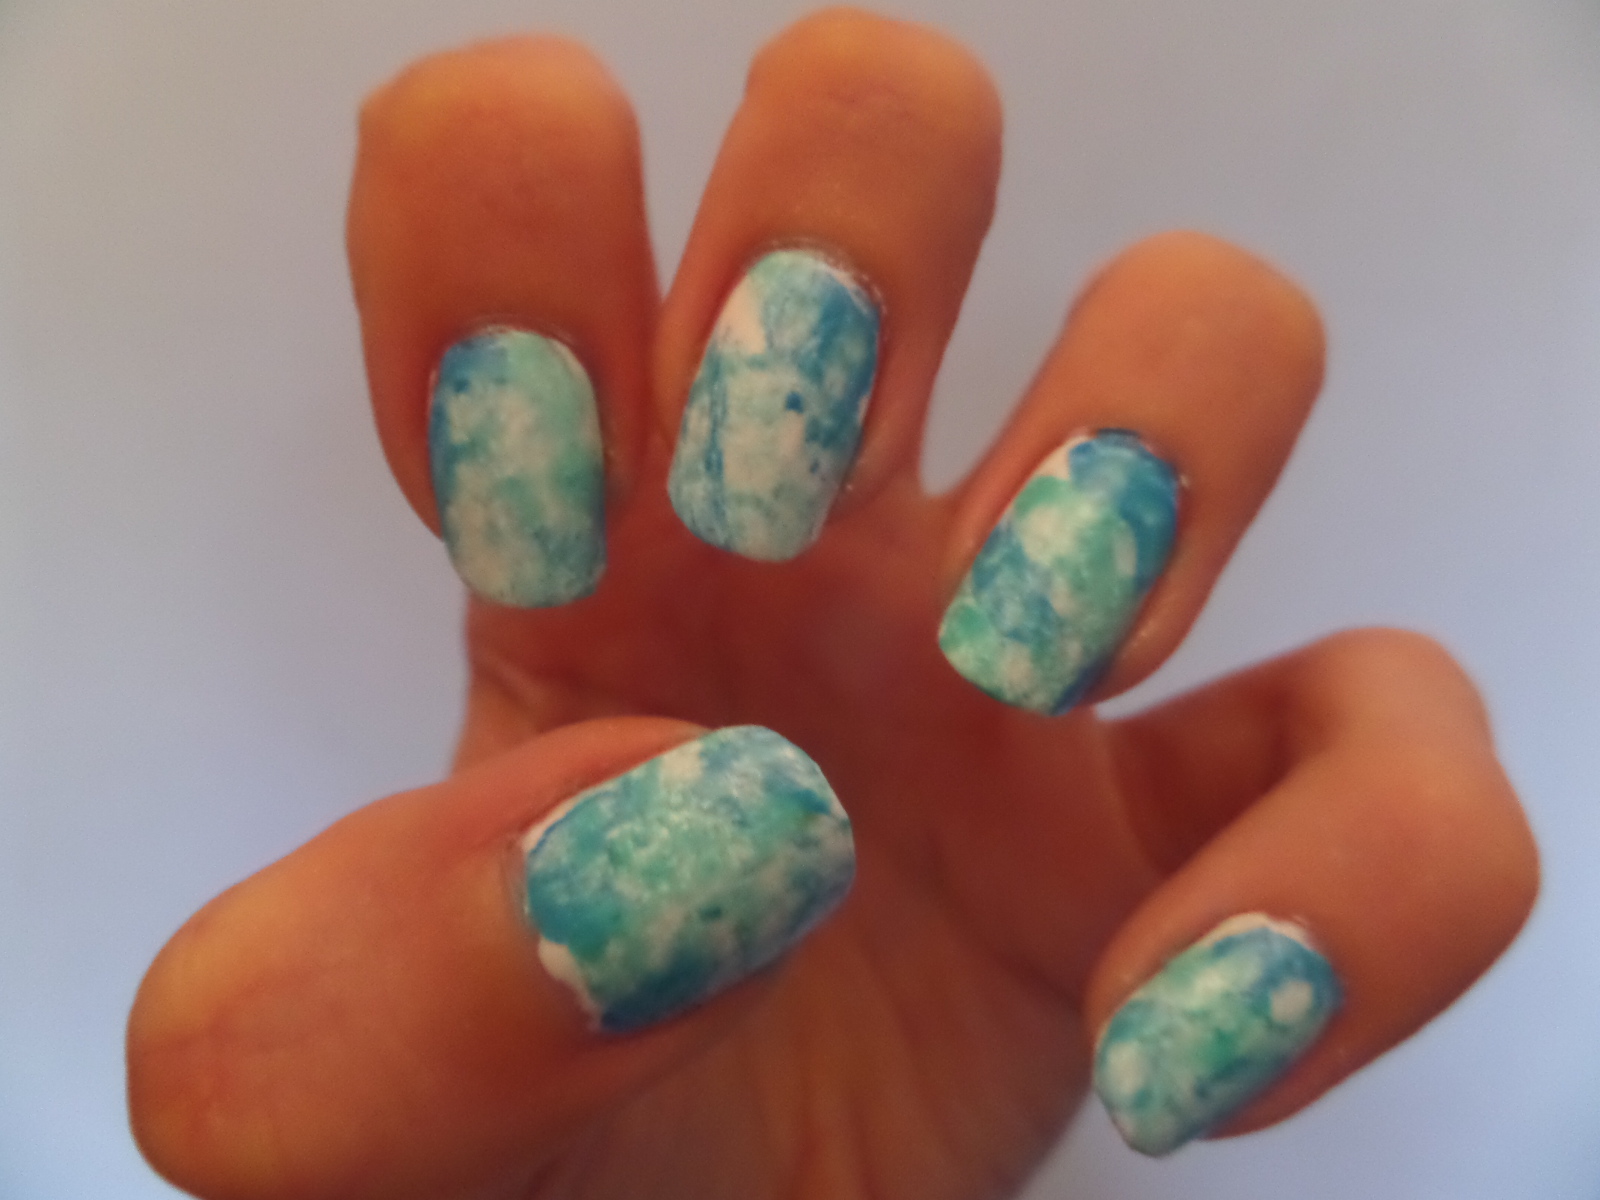
Next up is a limited edition, Mustang Eli Is On A Roll. I found this extremely hard to photograph, so there are quite a few picture below to try and give you an idea of how it looked. It's a very rich deep blue withsome subtle blue sparkly which is lovely! I only wish it would have sparked as much in the office as it did outside! The first picture of the polish shows it out without a top coat, it dries a slightly texture matte. With this particular shade I prefered it with a top coat, I've used Nails Inc's Gel Effect Plumping top coat.

Below I have tried to capture the way this polish looks in differe,t lights. I think the thumb nail is the closest to how the glitter looks in the sun. Indoors this just looks like a super shiny very deep blue.


I think getting the pictures to line up correctly will be something to work on for next months post. I hope it's not too frustrating to look at! Thanks for reading :)

Thursday 17 September 2015

Throwback Thursday: Doodle Shapes

Todays throwback I think I saw as a bit of a nail fail at the time, but looking back I rather like it! Might have to give it another go.It would have been from somewhere between a year and a half, and two years ago, as I can see that this picture was taken in the staff room at my old job!

It's a very simple design to do as it give you the freedom to be a bit messay, and say it's supposed to be like that! My favourite kind of design! The shapes were done with a Barry M nail art pen. I tried to create triangles using lines that didn't quite meet to give the patterned effect.


Colours used: White - Barry M, Passion Fruit - Barry M, Nail Art Pen in Black - Barry M

Tuesday 15 September 2015

Glitter Gradient For Graduation

Today I am showing you my attempt at seaspray nails. I did this for my sisters graduation a few months back as I wanted a bit of glitter for the occasion! I'm very much into blues and sea themes and this was a perfect excuse to bring some glitter into summer! Ussually I wouldn't like this type of gradient as it's quite spaced out, due to the type of sponge I used (some cheap ones from ebay!). For a normal gradient you are better using those triangular make up sponges. However as this was meant to look like seaspray I think it works quite well.

I started by sponging on a light layer of mint green over my base colour, though it's not too obvious in the picture. This was only meant to be a subtle detail but I think perhaps it's a little too subtle! I then sponged some cobalt blue over the top, getting darker towards the tip of the nail. Finished off with a sparkly base coat, whats not to like!


Colours used: Coconut - Barry M, Mint Green - Barry M, Baker Street - Nails Inc, Diamond Glitter - Barry M


Sunday 13 September 2015

Watercolour Nails: Inspired By Hannah Rox It (Fan Nails!)

Today I have my attempt at Hannah Rox It's watercolour nails to show you. She posted a tutorial a short while back on these and I think they look stunning, plus pretty easy to do! To see her original blog post and tutorial please click here. I just used tin foil instead of glass for the mixing as it's cheap! Below is the design before I put on the purply colour, I was almost tempted just to keep it with blues and greens but am glad I went the whole way in the end. I think there are a lot of bright lovely colours that would work well with it.


For me the right hand looked better than the left hand (for once!), as I'd figured out the technique a bit better at this stage. With the left hand I was swiping the polish across the nail, rather than sort of splodging it on. The splodging had a better effect! The beauty of this design is that if it does go a bit wrong you can just splash on a bit of nail polish remover and move it around.

The top two pictures are my right hand and the bottom two are the left. (oops for not cleaning the right hand up properly!)

Colours Used: White - Barry M, Guava - Barry M, Greenberry - Barry M, Holland Park - Nails Inc, Pro Matte Finish - Rimmel

Thursday 10 September 2015

Throwback Thursday: Triangles Are My Favourite Shape

Good evening! This one is from just over a year ago, apologies for the picture quality! I took inspration from Pinterest and painted the small shapes with a nail art brush. The edges were then outlined with a black nail art pen. I find this ais a really good way to neaten up the edges if you're not so steady with a nail art brush! I definitely need some practise!

Not sure whether I prefer these before or after the matte top coat. If the picture was less blurry I think matte would just about win!

Colours Used: Colville Mews - Nails Inc, Cyan Blue - Barry M, Holland Park - Nails Inc, Nail Art Pen in Black - Barry M, Pro Matte Finish - Rimmel

Monday 7 September 2015

Simple Spots

Just a simple one today. With all the tempting nail stamps and tools around it can be easy to forget that a quick and easy desgin can look stylish too! I don't ussually wear pinky colours but liked the texture of this one from Barry M's silk collection. It dries matte but still shiny, I know that doesn't make a whole lot of sense! I need to do more designs with this not-quite-gold gold colour from Topshop, it's so quirky!

That's all for today really, this manicure reminds me of a beautiful sari/saree, and since I never have an excuse to wear one I should wear them on my hands more often!


Colours used: Poppy - Barry M, Hidden Treasure - Topshop

Sunday 6 September 2015

Barry M AW15 Speedy Review

With the Grand Prix on today it seems like the perfect opportunity to share with you my thoughts on the new Barry M speedy polishes. They've also just released some new sunset polishes so I realise I'm a little behind! These are the first of the speedy range I have tried, so I'm pleased to see the new wider brush. I'm a fan of a wider brush as it makes application easier, which is especially handy for a speedy manicure. I can confirm that these dry super fast!


Thank you to my lovely boyfriend for helping with the picture above, it's tricky to get a good shot of all four hands at once! :D As you can see above these are super shiny. From the top left we have Slip Stream, continuing clockwise to Dragster, Dead Heat and Sprint Finish. Below are the bottles strutting their stuff!


Here's what I thought of each one individually:


First up is Dragster, a lovely dark grey. I don't think the picture quite does it justice. I really like this as it's just a little different to anything I already have. It's quite possibly my favourite of the collection. This one goes on smoothly with two coats.


Next is Slip Stream, this one is a smooth one coater, apologies for the slight bubbling in the picture. I think my nails were getting a bit fed up of the swatching! I like the brightness of this shade, as I seem to end up with so many dark purples. I'm on the lookout for a perfect Cadburys purple, and I think this is my closest so far.


Here is Sprint Finish, a lovely sophisticated shade. This was another easy one coater and went on smoothly, drying fast. Perfect for a quick manicure! The only disadvantage is that as with most strong colours there was some staining on my fingers as I took it off. Nothing a good soak can't fix though!


Finally, Dead Heat is a vibrant bright red shade, I'm a big fan! The consistency of this one is gorgeous. Reds always seem to be, not sure why! Glides on beautifully and dries fast. Would need two or possibly three coats for this one, but it's a lovely painting experience!


All in all I think this is a lovely bunch of colours. across the board I think we are very lucky with all the lovely shades we're getting for this autumn. My favourite is probably Dragster, but I was also very pleased with Dead Heat. Ta Barry M! :D

Thursday 3 September 2015

Throwback Thursday: Watercolour Spots

Todays throwback is my first attempt at water colour nails, which was good fun. It's a shame I don't have any better pictures to post. I have recently done some more water colour nails which went really well, and will be up on the blog soon.

This is a really easy technique to do, it just involves watering down the nail polish a little with some nail polish remover, on a shiny surface such as a piece of tin foil. This can be mixed to be as thin as you like, and can then be applied over the base colour. It's a good idea to add a top coat over the base colour to protect it from the nail polish remover. If/when i do this design again I think i'll try making the colours slightly fainter, and blurring them together a little more.

Just to add to the colours used section at the bottom, nails Inc's Notting Hill carnival isn't quite looking it's normal self here. it's usually a pastelly yellow, but on this occasion is a very pale green. I like the way it works, but think perhaps i didn't clean the brush enough after using key Lime (Barry M).


Colours Used: Coconut - Barry M, Key Lime - Barry M, Blue Moon - Barry M, Cyan Blue - Barry M, Notting Hill Carnival - Nails Inc, Passion Fruit - Barry M, Holland Park - Nails Inc

Tuesday 1 September 2015

Tropical Tuesday: When Life Gives You Lemons, Paint Your Nails!

Todays tropical Tuesday is my last one for this year, which makes me a little sad! I've really enjoyed this theme and will hopefully be able to do it again next year, and for a little longer. Bring on the gradients and fruit! All that being said, I am gearing up to that autumnal feeling, and looking forward to getting the darks and glitters out. The autumn collections this year are right up my street with all the purples, reds and blues too, much more so than last year. Yay!

So, on to the nail varnish.This is one of my favourite designs I've done this year altogether. One of those ones I just did not want to take off! Inspiration was taken from Pinterest and Instagram. I can't credit it to one particular person as there are a few of this style, but whoever started these lemons designs thank you!

For the lemons I actually used two different shades of yellow, though I don't think you can really tell once the black outlines are on there. For the first yellow, a nice bright Barry M, I painted the shapes on with the brush that comes out of the bottle. I then used a nail art brush for the centres of the lemon slices and a little shading with a paler yellow. Once this was all dry I used a black nail art pen to finish off the design, and my favourite top coat (Nails Inc's Kensington Caviar - it's so good!).


On the right I've included the design before any of the pale yellow or black, sorry for the blurryness, I just thought there was something quite nice and simple about it, perhaps would look nice with a paler blue for a more subtle look. I'm definitely all for the bright bold lemons though! Please see them again below, this is after it's been on Instargram so has a filter on, but I rather liked it so didn't want to leave it out!


Colours Used: Bruton Place - Nails Inc, White - Barry M, Yellow - Barry M, Key Lime - Barry M, Notting Hill Carnival - Nails Inc, Nail Art Pen in Black - Barry M, Kensington Caviar - Nails Inc